SATCO
Plug in Dimmer Switch
86-101
Light Dimmer Switch
HW: 255 FW: 5.07
ZM5202
6.51.02
0x0307 (775)
0x5044 (20548)
0x4744 (18244)
ZC10-16105285
2016-10-25 18:20:28.633015
N/A
Enhanced 232 Slave
Always On Slave
86-101 Plug in Dimmer Module - Remotely controls On, Off, or Dim levels of the connected device. - Second wall AC outlet remains free - Works with any gateway supporting Z-Wave - Functions as a Z-Wave signal repeater
86-101 Plug in Dimmer Module • Works with any AC operated lamps with incandescent and dimmable florescent(CFL) or LED light bulbs • ON/OFF status and location LED indicator • Can be controlled wirelessly or manually • Plug and play, simple setup • Lightweight and compact. • Grounded 3-pin AC power plug to enhance safety • Over-The-Air firmware upgrade available with compatible gateway, Z-Wave static controller, PC and software • Z-Wave 500 Series module inside • Internal resettable fuse to protect from surge current • Manual reset capability • Adjustable dimming rate
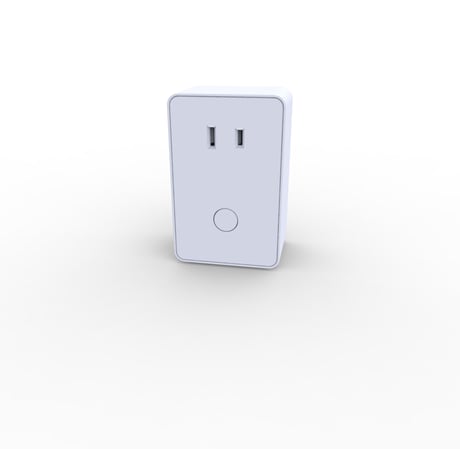
Product Picture


3 - LED Indicator
LED indicator will be ON/OFF when connected to appliance depending on the configuration value.Size: 1 byte
Default: 0
Minimum: 0
Maximum: 0
Possible values
| From | To | Desription |
|---|---|---|
| 0 | 0 | LED indicator will be OFF when the connected appliance is ON, and the LED indicator will be ON when the connected appliance is OFF |
| 1 | 1 | the LED indicator will be ON when the connected appliance is ON, and the LED indicator will be OFF when the connected appliance is OFF |
| 2 | 2 | the LED indicator is always OFF regardless of the load condition |
9 - Indicates the number of levels
The time interval of brightness change between dimming up and down can be adjustedSize: 1 byte
Default: 1
Minimum: 0
Maximum: 0
Possible values
| From | To | Desription |
|---|---|---|
| 1 | 99 | Indicates the number of levels the lighting will change when the timer runs out. |
10 - Timer
Indicates the time duration of each level.Size: 1 byte
Default: 3
Minimum: 0
Maximum: 0
Possible values
| From | To | Desription |
|---|---|---|
| 1 | 255 | Indicates the time duration of each level. |
1. Plug the 2-pin AC power plugs of lighting device to the receptacle of 86-101 2. Insert the module's 3-pin plug into an AC outlet of your preferred location. In normal operating mode, the LED on the front panel will be lit. 3. Add(Include) the module into your network by a Z-Wave certified controller. Normally, the sequence is as follows: a. Place your network controller into inclusion mode by following the controller manufacturer's instructions b. When the controller is ready, single click the button on the front of 86-101 c. The controller should indicate that the new device was added successfully.
a. Place your network controller into exclusion mode by following the controller manufacturer's instructions b. When the controller is ready, single click the button on the front of 86-101 c. The controller should indicate that the device was excluded successfully.
Use this procedure only in the event that the network primary controller is lost or otherwise inoperable. 1. Unplug the 86-101 from the AC outlet and also unplug the power plugs of the lighting from the module (if plugged in) 2. Press and hold the button on the 86-101 3. Plug the 86-101 back into the AC outlet with the button pressed 4. After 3 seconds, release the button. If you see the button blink, that means that the 86-101 has been reset successfully
| Type | Value(s) |
|---|