iamsmart
Der Aufpasser
3000117.0
Notification Sensor
HW: 2 FW: 0.08:00.09
ZM5101
6.51.06
0x019A (410)
0x0003 (3)
0x0003 (3)
ZC10-18026002
2018-02-12 19:00:56.08371
N/A
Routing Slave
Reporting Sleeping Slave
Yes
Open/Close Magnet-sensor for doors & windows
The iamsmart Window & Door Sensor is an ultra-thin magnetic contact sensor designed to monitor windows and doors for your safety and efficiency. It’s so thin that it can be mounted invisibly in a tiny gap between the frame and the door or window. It is as easy to mount as a sticker using the iamsmart Window & Door Sensor’s adhesive tape. The iamsmart Window & Door Sensor is a Z-Wave plus compliant and can be used with any existing Z-Wave smart home system. Combined with the iamsmart Smartbox and smart Radiator Thermostat, the Window & Door Sensor is also able to make your heating more efficient by detecting open windows and adjusting the temperature accordingly to not waste energy. To make your home more secure the iamsmart Smartbox and the Window & Door Sensor are the perfect team: the internal, very loud siren of the Smartbox scares robbers and is triggered by the iamsmart Window & Door Sensor if a window or door is opened while you’re away. Besides its main features – security and efficient heating in combination with the smart Radiator Thermostat, the iamsmart Window & Door Sensor has an impressive battery life of up to 10 years.
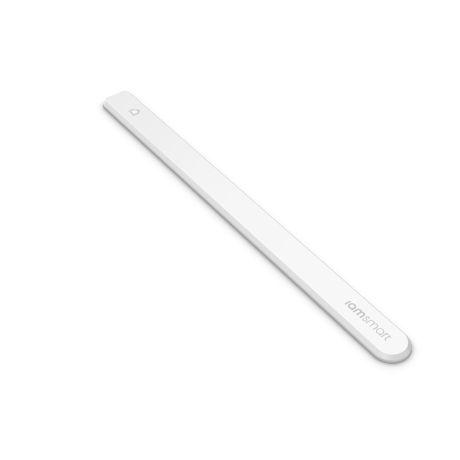
Product Picture


1 - Notification type
User can use this configuration parameter to change the notification type compatible with their gateway controller.Size: 1 byte
Default: 1
Minimum: 0
Maximum: 0
Possible values
| From | To | Desription |
|---|---|---|
| 0 | 0 | Binary Sensor report |
| 1 | 1 | Notification report |
| 2 | 2 | Basic report |
2 - LED indication
LED On during specific event detected (ex. door opened) else if the parameter value is 0, LED will be turned OFF for the specific event detected.Size: 1 byte
Default: 1
Minimum: 0
Maximum: 0
Possible values
| From | To | Desription |
|---|---|---|
| 0 | 0 | Specific event indication (ex. door opened) Off |
| 1 | 1 | On |
The iamsmart Window & Sensor is delivered in ""auto-add"" mode. Follow the process below to add the iamsmart Window & Sensor in a Z-Wave network. 1. Start the add mode on the Z-Wave controller. See the controller’s manual. 2. Remove both magnets from the iamsmart Window & Door Sensor. The iamsmart Window & Door Sensor blinks twice to confirm the command and successful addition. 3. A long LED blink indicates that the add process was successful 4. The Z-Wave controller application should now allow you to monitor your iamsmart Window & Door Sensor status. 5. Move the squared magnet as shown in the picture . Check that the Z-Wave system indicates the status correctly. 6. If the Z-Wave system does not respond, it may be needed to change the iamsmart Window & Door Sensor’s notification type. Manual add: 1. Set the controller to add mode (See your controller’s manual). 2. Place the round magnet at the rounded edge of the iamsmart Window & Door Sensor. When the LED blinks, move the magnet away. Repeat 3 times in total within 10 seconds. 3. A long LED blink indicates that the add process was successful.
1. Set the controller in remove mode (See your controller’s manual). 2. Place the round magnet at the rounded edge of the iamsmart Window & Door Sensor. When the LED blinks, move the magnet away. Repeat 3 times in total within 10 seconds. 3. A long LED blink indicates that the remove process was successful.
Wake up the iamsmart Window & Door Sensor manually for Z-Wave communication: 1. Place the round magnet at the rounded edge of the iamsmart Window & Door Sensor. 2. When the LED blinks, move the magnet away. 3. Repeat 3 times in total within 10 seconds.
In order to reset the iamsmart Window & Door Sensor (needed when the controller is lost or inoperable): 1. Place the round magnet at the rounded edge of the iamsmart Window & Door Sensor. 2. When the LED blinks, move the magnet away. Repeat 3 times in total within 10 seconds. 3. On the 3rd repetition, leave the magnet at the rounded edge for 10s. 4. A long LED signal indicates success.
Failure message: 5 LED blinks
| Type | Value(s) |
|---|
| Group | Type |
|---|---|
| Access Control | (Refer to parameters): State idle |
| Home Security | (Refer to parameters): State idle |
| Sensor type |
|---|
| General Purpose |