Sunricher
Wall Controller
SR-ZV9001T4-DIM-RU
Wall Controller
HW: 1 FW: 1.10
ZM5101
6.71.01
0x0330 (816)
0x031A (794)
0xa10d (41229)
ZC10-18046082
2018-04-13 15:51:42.804793
N/A
Enhanced 232 Slave
Always On Slave
The Wall controller is a Security Enabled Z-Wave Plus device that can both control other Z-Wave devices and activate scenes in Gateways.
The Wall controller is a Security Enabled Z-Wave Plus device that can both control other Z-Wave devices and activate scenes in Gateways. The wall controller can be included and operated in any Z-Wave network with other Z-Wave certified devices from other manufacturers and/or other applications. All non‐battery operated nodes within the network will act as repeaters regardless of vendor to increase reliability of the network.
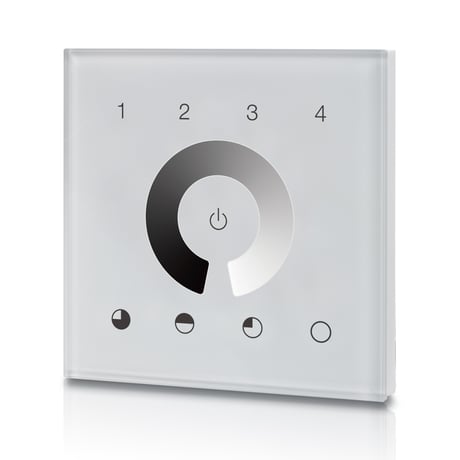
Product Picture
Press and hold down “inclusion/exclusion” button for over 8 seconds, LED indicator blinks slowly to indicate successful factory reset, release “inclusion/exclusion” button, the wall controller will restart automatically.
1. Set primary controller/gateway into inclusion mode (Please refer to your primary controllers manual on how to turn your controller into inclusion). 2. Make sure the wall controller does not belong to any Z-Wave network (please refer to the part “How to check whether the wall controller included to a network” of this manual). 3. Short press the “inclusion/exclusion” button, or press and hold down “ALL ON/OFF” button for over 3 seconds, the wall controller will be set to inclusion mode, and waiting to be included, then LED indicator turns on and blinks 6 times quickly to indicate successful inclusion. Once the wall controller quits “inclusion mode”, the LED indicator will turns off. There are 3 methods for the wall controller to quit “inclusion mode”: 1. Automatically quits after successful inclusion. 2. Quits after 25 seconds timeout. 3. Press and hold down “ALL ON/OFF” button for over 3 seconds, or short press the “inclusion/exclusion” button to quit.
There are two exclusion methods: Method 1: Exclusion from the primary controller/gateway as follows: 1. Set the primary controller/gateway into exclusion mode (Please refer to your primary controllers manual on how to set your controller into exclusion). 2. Short press the “inclusion/exclusion” button, or press and hold down “ALL ON/OFF” button for over 3 seconds, the wall controller will be set to exclusion mode, and waiting to be excluded, then LED indicator turns on and shows 3 short blinks and 1 long blink to indicate successful exclusion. Once the wall controller quits “exclusion mode”, the LED indicator will turns off. There are 3 methods for the wall controller to quit “exclusion mode”: 1. Automatically quits after successful exclusion. 2. Quits after 25 seconds timeout. 3. Press and hold down “ALL ON/OFF” button for over 3 seconds, or short press the “inclusion/exclusion” button to quit. Method 2: Factory reset the wall controller will force the wall controller to be excluded from a network. (please refer to the part “Factory Reset” of this manual) Note: Factory reset is not recommended for exclusion, please use this procedure only if the primary controller/gateway is missing or otherwise inoperable.
| Type | Value(s) |
|---|