Sunricher
Wall Controller
SR-ZV9003T4-RGBW-EU
Wall Controller
HW: 1 FW: 1.10
ZM5101
6.71.01
0x0330 (816)
0x0300 (768)
0xa107 (41223)
ZC10-18056116
2018-05-24 05:45:20.984605
N/A
Enhanced 232 Slave
Always On Slave
The Wall controller is a Security Enabled Z-Wave Plus device that can both control other Z-Wave devices and activate scenes in Gateways.
The Wall controller is a Security Enabled Z-Wave Plus device that can both control other Z-Wave devices and activate scenes in Gateways. The wall controller can be included and operated in any Z-Wave network with other Z-Wave certified devices from other manufacturers and/or other applications. All non-battery operated nodes within the network will act as repeaters regardless of vendor to increase reliability of the network.
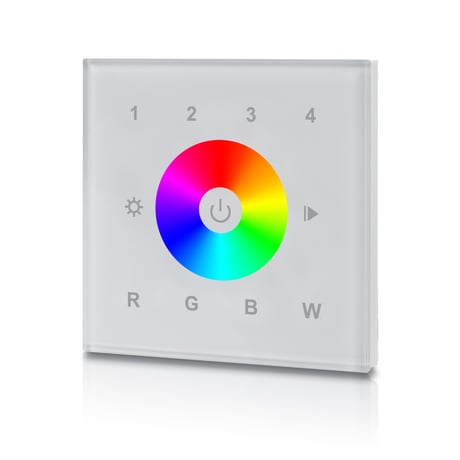
Product Picture
Press and hold down “inclusion/exclusion” button for over 8 seconds, LED indicator blinks slowly to indicate successful factory reset, release “inclusion/exclusion” button,the wall controller will restart automatically. If this controller is the primary controller for your network, resetting it will result in the nodes in your network being orphaned and it will be necessary after the reset to exclude and re-include all of the nodes in the network. If this controller is being used as a secondary controller in the network, use this procedure to reset this controller only in the event that the network primary controller is missing or otherwise inoperable.
1. Set primary controller/gateway into inclusion mode (Please refer to your primary controllers manual on how to turn your controller into inclusion). 2. Make sure the wall controller does not belong to any Z-Wave network (please refer to the part “How to check whether the wall controller included to a network” of this manual). 3. Short press the “inclusion/exclusion” button, or press and hold down “ALL ON/OFF” button for over 3 seconds, the wall controller will be set to inclusion mode, and waiting to be included, then LED indicator turns on and blinks 6 times quickly to indicate successful inclusion. Once the wall controller quits “inclusion mode”, the LED indicator will turns off. There are 3 methods for the wall controller to quit “inclusion mode”: 1. Automatically quits after successful inclusion. 2. Quits after 25 seconds timeout. 3. Press and hold down “ALL ON/OFF” button for over 3 seconds, or short press the “inclusion/exclusion” button to quit.
There are two exclusion methods: Method 1: Exclusion from the primary controller/gateway as follows: 1. Set the primary controller/gateway into exclusion mode (Please refer to your primary controllers manual on how to set your controller into exclusion). 2. Short press the “inclusion/exclusion” button, or press and hold down “ALL ON/OFF” button for over 3 seconds, the wall controller will be set to exclusion mode, and waiting to be excluded, then LED indicator turns on and shows 3 short blinks and 1 long blink to indicate successful exclusion. Once the wall controller quits “exclusion mode”, the LED indicator will turns off. There are 3 methods for the wall controller to quit “exclusion mode”: 1. Automatically quits after successful exclusion. 2. Quits after 25 seconds timeout. 3. Press and hold down “ALL ON/OFF” button for over 3 seconds, or short press the “inclusion/exclusion” button to quit. Method 2: Factory reset the wall controller will force the wall controller to be excluded from a network. (please refer to the part “Factory Reset” of this manual) Note: Factory reset is not recommended for exclusion, please use this procedure only if the primary controller/gateway is missing or otherwise inoperable.
| Type | Value(s) |
|---|