Animus Home
Animus Heart
AHG1
Gateway
HW: 1 FW: 5.50:02.61:01.00:01.00
ZM5304
6.71.03
0x0392 (914)
0x0001 (1)
0x0001 (1)
ZC10-18076196
2018-07-12 23:42:11.574652
N/A
Bridge Controller
Central Static Controller
Animus Heart is a multi-protocol smart home controller. It is certified with latest S2 security and gives Z-Wave sensors and devices one interface. Animus Heart enables smart home control and automation.
Animus Heart is a multi-protocol smart home controller. It brings devices from Z-Wave, Wi-Fi, BT and different protocols on 433 MHz to one common interface. Everything is powered by a 1.2 GHz quad core processor. Data is collected and stored on the Animus Heart to protect user privacy. With the Animus Heart, the smart home also works properly without internet connection. This gives stability and reliability. From the app or web browser the smart home can be controlled or automated. No matter place, the smart home is at remote access. Animus Heart supports latest Z-Wave Plus with S2 Security.
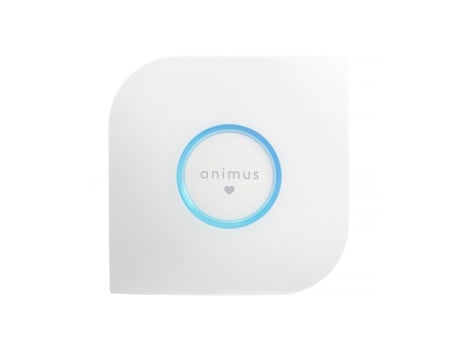
Product Picture
https://animushome.atlassian.net/wiki/spaces/AHK/pages/232915106/Learn+mode
To reset the Z-Wave controller you need to access the package controller. To access the Package Controller, got o Menu → Settings → Package Controller. Enter the Z-Wave Package: Here you can choose to reset the Z-Wave controller. Click → Reset data. If this controller is the primary controller for your network, resetting it will result in the nodes in your network being orphaned and it will be necessary after the reset to exclude and re-include all of the nodes in the network. If this controller is being used as a secondary controller in the network, use this procedure to reset this controller only in the event that the network primary controller is missing or otherwise inoperable.
More information on product manual. The product manual refers to a link where more information can be retrieved docs.animushome.com. Information related to lifeline, reset information, inclusion/exclusion instructions is read here: https://animushome.atlassian.net/wiki/spaces/AHK/pages/231440385/Z-Wave
1. Navigate to the Device-page in the Animus Home GUI. 2. Click on the Add new device button. To add new Z-Wave devices to the Z-Wave Network with Animus Heart, follow the steps below. After following the generic steps for adding a new device, choose the option Z-Wave Devices. Next choose if you want to have a Guided setup or Automatic. What is the difference? - Guided: By choosing guided you will be able to choose the exact product you are trying to add and also see the installation steps from that specific device on how to add it to a gateway. Note, the Animus Heart GUI doesn't show installation steps on all devices, meaning the list there is smaller than what is possible to add. - Automatic: By choosing automatic you will start the inclusion mode of the gateway immediately. If you know how the specific device is added to a gateway, this is a faster procedure. No matter if you choose Guided or Automatic, you will end up in a view where the gateway is put in inclusion mode. The inclusion process lasts 60 seconds and during this time you need to put the device in pairing mode. Usually you have to press a button on the device three (3) times quickly. To be sure on how you add your device, please read the manual of the device for more details. Once the device has been found, your view will change to the interview process. This is where Animus Heart learns about the added device and checks: a. Encapsulation support (security, multichannel) b. Basic device information (manufacturer ID, device ID, supported command classes) c. For each supported Command class: 1. Check version 2. Check command specific capabilities 3. Create GUI function if needed Note The inclusion process should not take more than 2 minutes. Try to redo the steps from the beginning if the inclusion was unsuccessful. Also try to keep the device as close to the gateway as possible during this process. If the interview was successful you can now enter a Name to your device and assign it to a Room.
To remove a device follow the steps below: 1. Enter a device by clicking on it once. 2. Enter the device settings by clicking on Edit (gear-icon). (upper right in mobile view and bottom right in desktop view). 3. Look for the ""Remove device"" button and press it once. 4. Your device will now open a remove device guide. Click Finish if you wish to proceed with the removing. 5. Start the removing/exclusion process. You will end up in a view where the gateway is put in exclusion mode. The exclusion process lasts 60 seconds and during this time you need to physically put the device in exclusion mode. Usually you have to press a button on the device three (3) times quickly. To be sure on how to do this on your device, please read the manual of the device for more details.
| Type | Value(s) |
|---|