ABUS
ABUS Z-Wave Door-/Window Sensor
PLMK10000
Notification Sensor
HW: 3 FW: 4.04:00.03
ZM5101
6.81.03
0x0403 (1027)
0x0003 (3)
0x0006 (6)
ZC10-19126807
2019-11-22 16:56:35.444486
N/A
Routing Slave
Reporting Sleeping Slave
Yes
The Door-/window Sensor impresses by its height of less than 3 mm which makes it ideal for invisible mounting in Door-/Window frames
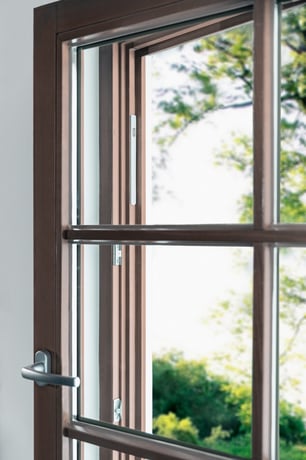
The Z-Wave Door- / Window Sensor detects the opening of windows and doors and informs your smart home gateway. Thanks to an overall height of only 3 mm, installation in door or window frames is possible – simply by adhesive mounting. When closed, the detector cannot be seen from the outside or inside.

Product Image


1 - notification type (Door Open/Door Close)
Size: 1 byte
Default: 1
Minimum: 0
Maximum: 2
Possible values
| From | To | Desription |
|---|---|---|
| 0 | 0 | Binary Sensor Report |
| 1 | 1 | Notification Report |
| 2 | 2 | Basic Report |
2 - LED indication
Size: 1 byte
Default: 1
Minimum: 0
Maximum: 1
Possible values
| From | To | Desription |
|---|---|---|
| 0 | 0 | Specific event indication detected (means: specific event detected(e.g. door opened) |
| 1 | 1 | On |
3 - Activate Supervision
Size: 1 byte
Default: 0
Minimum: 0
Maximum: 2
Possible values
| From | To | Desription |
|---|---|---|
| 0 | 0 | Off |
| 1 | 1 | Alarm Reports (means: specific event detected e.g. door opened) |
| 2 | 2 | Unsolicited Reports |
1.) Activate the inlcusion mode at your Gateway 2.) keep the device within range of the gateway and remove both magnets from the device. 3.) Successfull inclusion is displayed at the Gateway (or app) and the status LED of device lights up for several seconds 4.) If the inclusion was not successfull, repeat it again.
1.) Activate the exclusion mode at the Gateway 2.) Place the round magnet on he upper rounded edge of device and remove it as soon as the LED lights up. Repeat this 3 times within 10 seconds. 3.) Successfull exclusion is displayed in the App or at the gateway and the status LED on device lights up one time. 4.) Repeat the exclusion process again if it was unsuccessfull.
1.) Place the round magnet on the upper rounded edge and remove it as soon as the LED Lights up. 2.) Repeat this procedure 3 times within 10 seconds
1.) Place the round magnet on the upper rounded edge and remove it as soon as the LED lights up. Repeat the procedure 3 x ... and leave the magnet on the rounded edge for 10 seconds at the third time. 2.) The LED now flashes 1 x long to confirm the process. The unit is now reset to factory settings. Important: This procedure should only be used if the primary gateway is not capable of acting. If the device is set to factory default, the status is set to "not included", the association settings and possible configurations are reset to default.
chapter 1.6 DSK Code (Page 7) ... "The DSK Code (Device-Specific-Key) is the device-specific key of your device and is required for Security Inclusion (teach-in) via S2 to the gateway. The first 5 digits of the DSK code can be found on the rear side of the product. Please enter them in the inclusion process when prompted. Alternatively, you can enter the entire DSK code found on the enclosed DSK card to the gateway via QR Code Scan. Please keep the DSK card in a safe place!"
| Type | Value(s) |
|---|
| Group | Type |
|---|---|
| Access Control |
|
| Home Security | Magnetic Field Interference Detected |