Resideo
In-Wall Tamper Resistant Outlet
39456 / ZW1002
On/Off Power Switch
HW: 255 FW: 5.25
ZM5202
6.51.09
0x041B (1051)
0x4952 (18770)
0x3133 (12595)
ZC10-20046903
2020-03-30 09:48:51.843633
N/A
Enhanced 232 Slave
Always On Slave
Transform any home into a smart home with the Resideo Z-Wave Tamper Resistant Outlet.
Transform any home into a smart home with the Resideo Z-Wave Tamper Resistant Outlet. The Tamper Resistant Outlet enables wireless control of on/off functions from the Z-Wave controlled outlet, and is compatible with incandescent, LED, Xenon, Halogen, fluorescent and compact fluorescent bulbs. The tamper resistant duplex receptacle includes a blue LED indicator light to easily locate the receptacle in a dark room. The receptacle replaces your current electrical outlet, uses your existing wiring and provides a Z-Wave enabled outlet for the lamp or appliance that you would like to control and a standard pass-through AC outlet for other electrical appliances. Take control of your home lighting with Resideo Z-Wave Smart Controls!
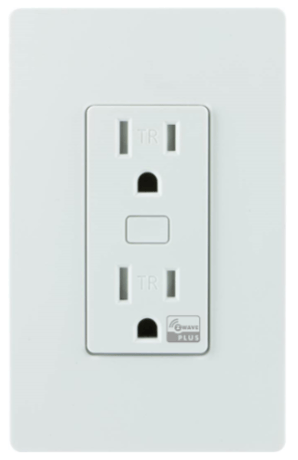
Product Image


3 - Parameter 3
Invert/Disable LED (Adjusts when the indicator LED is turned ON, OFF, or disabled)Size: 1 byte
Default: 1
Minimum: 0
Maximum: 2
Possible values
| From | To | Desription |
|---|---|---|
| 0 | 0 | LED ON/Device OFF |
| 1 | 1 | LED ON/Device ON |
| 2 | 2 | Disable LED |
CONNECTING YOUR DEVICE TO A Z-WAVE NETWORK 1. Follow the instructions for your Z-Wave certified controller to add a device to the Z-Wave network. 2. Once the controller is ready to add your device, press and release the program button. Repeat as necessary to add the smart outlet to the network. You have complete control
REMOVING AND RESETTING THE DEVICE 1. Follow the instructions for your Z-Wave certified controller to remove a device from the Z-Wave network. 2. Once the controller is ready to remove your device, press and release the manual/program button.
RETURNING SWITCH TO FACTORY DEFAULTS Quickly press the button three times. Then, press the button for at least three seconds. The LED will blink five times to confirm. Note: This should only be used in the event your network’s primary controller is missing or otherwise inoperable.
| Type | Value(s) |
|---|