Heatit controls
Heatit Z-Temp2
Z-Temp2
Thermostat - HVAC
HW: 1 FW: 1.01:00.02
EFR32Z
7.11.1
0x019B (411)
0x0004 (4)
0x0204 (516)
ZC12-20050065
2020-05-22 15:27:51.909944
N/A
Enhanced 232 Slave
Listening Sleeping Slave
Yes
Heatit Z-Temp2 is a Z-Wave battery-operated thermostat for controlling external relays.
Heatit Z-Temp2 is a battery-operated thermostat designed for use with water based heating systems. Used in combination with the Heatit Z-Water regulator you can control your heating system with a Z-Wave primary controller/gateway with the use of Heatit Z-Water in combination with one or several Heatit Z-Temp2.
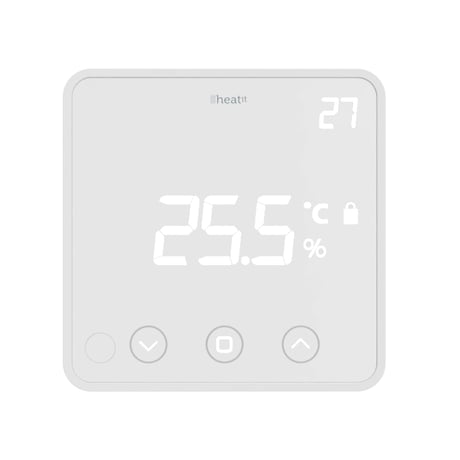
Product Image
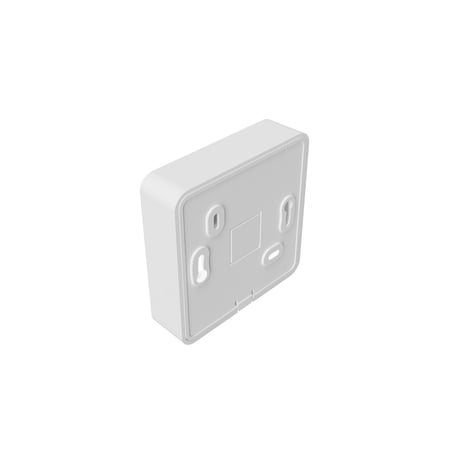
Heatit Z-Temp2_front high_right
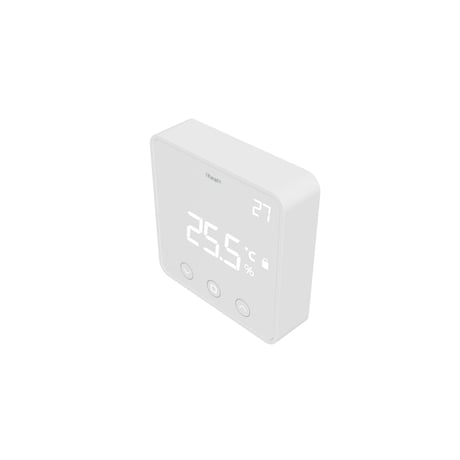
Heatit Z-Temp2_front high_left
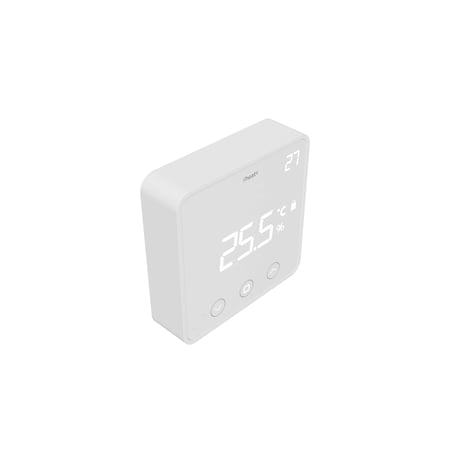
Heatit Z-Temp2


1 - Temperature/ Humidity report interval
Used to adjust the time between report interval for Temperature and humidity reports.Size: 2 bytes
Default: 900
Minimum: 30
Maximum: 32767
Possible values
| From | To | Desription |
|---|---|---|
| 30 | 32767 | 30 to 32 767 seconds (Default 900) |
2 - Temperature delta value
Temperature delta value.Size: 2 bytes
Default: 10
Minimum: 0
Maximum: 50
Possible values
| From | To | Desription |
|---|---|---|
| 0 | 0 | Reporting temperate based on change is disabled |
| 5 | 50 | 0.5 to 5°C (Default 10, 1.0°C) |
3 - Humidity delta value
Humidity delta value.Size: 2 bytes
Default: 10
Minimum: 0
Maximum: 50
Possible values
| From | To | Desription |
|---|---|---|
| 0 | 0 | Reporting temperate based on change is disabled |
| 5 | 50 | 5 to 50% (Default 10, 10%) |
4 - Temperature offset settings
Calibrate the internal sensor.Size: 2 bytes
Default: 0
Minimum: -100
Maximum: 100
Possible values
| From | To | Desription |
|---|---|---|
| -100 | 100 | -100 to 100°C (Default 0, 0°C) |
5 - Humidity offset settings
Offsets the measured relative humidity.Size: 2 bytes
Default: 0
Minimum: -100
Maximum: 100
Possible values
| From | To | Desription |
|---|---|---|
| -100 | 100 | -10 to 10% (Default 0, 0%) |
6 - Proximity sensor retrigger interval
Proximity sensor retrigger interval.Size: 2 bytes
Default: 10
Minimum: 2
Maximum: 270
Possible values
| From | To | Desription |
|---|---|---|
| 2 | 270 | 2 to 270 seconds (Default 10, 10 seconds) |
7 - Proximity sensor – Enable / Disable
Choose if proximity sensor is used or not.Size: 2 bytes
Default: 1
Minimum: 0
Maximum: 1
Possible values
| From | To | Desription |
|---|---|---|
| 0 | 0 | Disable |
| 1 | 1 | Enable (Default) |
8 - LED maximum brightness
Adjust the backlight of LCD display.Size: 2 bytes
Default: 50
Minimum: 0
Maximum: 99
Possible values
| From | To | Desription |
|---|---|---|
| 0 | 99 | 0 to 99% (Default 50, 50%) |
9 - LED turned on before timeout
Adjust the time from proximity sensor / display touched until display goes to sleep.Size: 2 bytes
Default: 3
Minimum: 3
Maximum: 300
Possible values
| From | To | Desription |
|---|---|---|
| 3 | 300 | 3 to 300 secounds (Default 3, 3 seconds). |
10 - Temperature Control Hysteresis
Adjust the delta values for the thermostat to turn on off heating.Size: 2 bytes
Default: 5
Minimum: 3
Maximum: 30
Possible values
| From | To | Desription |
|---|---|---|
| 3 | 30 | 0.3 to 3°C (Default 5, 0,5°C) |
11 - Minimum Temperature Limit
Set the minimum temperature limit.Size: 2 bytes
Default: 50
Minimum: 50
Maximum: 400
Possible values
| From | To | Desription |
|---|---|---|
| 50 | 400 | 5 to 40°C (Default 50, 5°C) |
12 - Maximum Temperature Limit
Set the maximum temperature limit.Size: 2 bytes
Default: 400
Minimum: 50
Maximum: 400
Possible values
| From | To | Desription |
|---|---|---|
| 50 | 400 | 5 to 40°C (Default 400, 40°C) |
13 - External Relay & Operating State update interva
Set time on how often the devices sends Binary Switch Set and thermostat mode to gateway.Size: 2 bytes
Default: 0
Minimum: 0
Maximum: 240
Possible values
| From | To | Desription |
|---|---|---|
| 0 | 0 | Sends only when changed (Default) |
| 1 | 240 | 1 to 240 minutes + When changed |
14 - Report when presence is detected
Decides if the thermostat sends temperature when presence is detected.Size: 2 bytes
Default: 0
Minimum: 0
Maximum: 1
Possible values
| From | To | Desription |
|---|---|---|
| 0 | 0 | Do not report to gateway when presence is detected, only at interval. (Default) |
| 1 | 1 | Send temperature report to gateway when presence is detected. |
There are two ways to add your devices in a Z-Wave network. * Standard (manual). Please refer to your primary controller/gateway manual on how to enter add mode. The device can only be added to the network if the primary controller is in add mode. When the primary controller/gateway is set to add mode press the link button on the thermostat 3 times in a rapid sequence. * SmartStart (automatic) Please refer to your primary controller/gateway to see if SmartStart is supported by the controller. SmartStart enabled products can be added into a Z-Wave network by scanning the Z-Wave QR-Code present on the product with a controller providing SmartStart inclusion. No further action is required and the SmartStart product will be added automatically within 10 minutes of being switched on in the network vicinity.
Remove. Please refer to your primary controller/gateway manual on how to enter remove mode. The device can only be removed from the network if the primary controller is in remove mode. When the primary controller/gateway is set to remove modus press the link button on the thermostat 3 times in a rapid sequence.
The thermostat is a FLIRS device. You are able to force a Node Information Frame using the same procedure as adding/removing procedure; "press the link button on the thermostat 3 times in a rapid sequence."
By pressing and holding the link button for 20 seconds, the thermostat will perform a complete factory reset. rES will be displayed. NB! Please use this procedure only when the primary controller/gateway is missing or otherwise inoperable.
Paragraph 8. Compability/ Principles for regulation. Water based heating - Electrical heating. Paragraph 9. Information shown in display. The main screen - Secondary screen - Connecting to an external relay. Paragraph 10. Hysteresis. Paragraph 11. Child lock. Paragraph 12. Standby and main screen.
The QR Code is needed when including using S2-Security or SmartStart. The Z-Wave DSK can be found in the QR-Code and is located; 1. On the back of wall mount (above the battery compartment). 2. Inside the packaging attached on the note. 3. On the product packaging.
| Type | Value(s) |
|---|
| Group | Type |
|---|---|
| Power Management | Power status: Power has been applied |
| Sensor type |
|---|
| Air Temperature |
| Humidity |