EcoDim BV
Smart LED dimmer Z-Wave 250W
ECO-DIM.10 Z-Wave
Light Dimmer Switch
HW: 1 FW: 1.10
ZM5101
6.81.03
0x0431 (1073)
0x0202 (514)
0x0002 (2)
ZC10-20076947
2020-07-17 15:44:41.074132
N/A
Enhanced 232 Slave
Always On Slave
ECO-DIM.10 Z-Wave is a smart module dimmer for LED lights.
ECO-DIM.10 Z-Wave is a smart module dimmer for LED lights. The dimmer module has a range of 250W LED and beside LED lights also able to dim 230V halogen and incandescent bulds, dimable LED-drivers and electronic transfomers. The minimum and maximum light level of the dimmer can be adjusted by the MIN and MAX potentiometer, also the speed of dimming by a pulse switch is adjustable by the SPEED potentiometer. The ECO-DIM.10 is protected against overload and interference signals. For the installation of the ECO-DIM.10 Z-Wave you only need two wires, three wire installation (with extra neutral wire) is available, but not required. It is suitable for all smarthome systems based on Z-Wave (plus) protocol. The smart dimmer module is compatible with 95% of all dimmable LED lights.
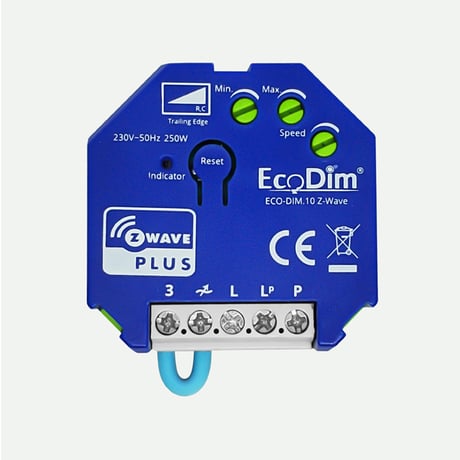
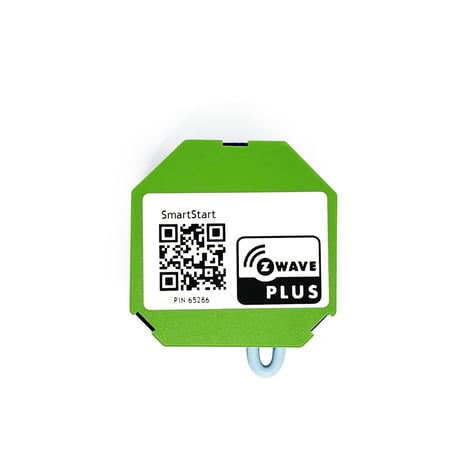
Product Image
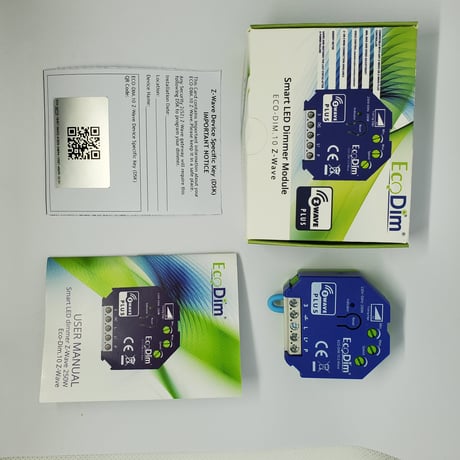
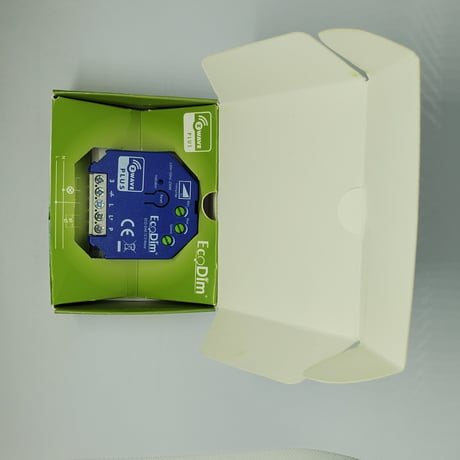
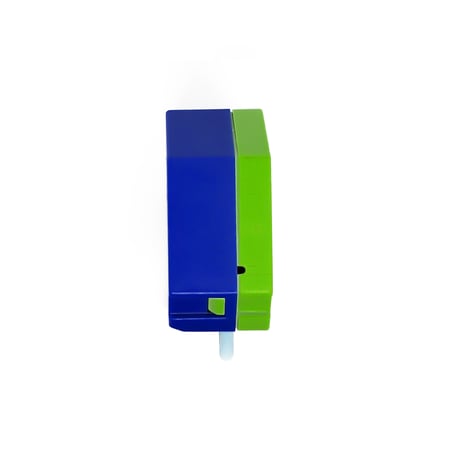


1 - State After Power Restored
he state the switch should return to once power is restored after power failure. 0 - Off. 1 - On. 2 - Returns to level before Power OutageSize: 1 byte
Default: 0
Minimum: 0
Maximum: 2
Possible values
| From | To | Desription |
|---|---|---|
| 0 | 0 | Off |
| 1 | 1 | On |
| 2 | 2 | Returns to level before Power Outage |
2 - Notification when Load status change
The Dimmer will send notification to associated device (Group Lifeline) when the status of Dimmer load is changed. 0 - The function is disabled. 1 - Send Switch Multilevel Report. 2- Send Switch Multilevel Report only when Load status is not changed by Z-WAVE CommandSize: 1 byte
Default: 1
Minimum: 0
Maximum: 2
Possible values
| From | To | Desription |
|---|---|---|
| 0 | 0 | The function is disabled |
| 1 | 1 | Send Switch Multilevel Report . |
| 2 | 2 | Send Switch Multilevel Report only when Load status is not changed by Z-WAVE Command |
3 - Default dimming speed
Valid value, unit is second. 0-100 0 - Instanly. 1 - Fast. … 100 - Slow.Size: 1 byte
Default: 5
Minimum: 0
Maximum: 100
Possible values
| From | To | Desription |
|---|---|---|
| 0 | 0 | instantly |
| 1 | 1 | fast |
| 100 | 100 | slow |
5 - Enable or Disable external switch to pair network
Enable or Disable external switch to pair network. 0 - Disable. 1 - Enable.Size: 1 byte
Default: 1
Minimum: 0
Maximum: 1
Possible values
| From | To | Desription |
|---|---|---|
| 0 | 0 | Disable |
| 1 | 1 | Enable |
6 - Setting dimming way
Setting dimming way. 0 - Linear dimming. 1 - Logarithmic dimming.Size: 1 byte
Default: 0
Minimum: 0
Maximum: 1
Possible values
| From | To | Desription |
|---|---|---|
| 0 | 0 | Linear dimming |
| 1 | 1 | Logarithmic dimming |
7 - Setting default brightness when turn on the dimmer from off status.
Setting default brightness when turn on the dimmer from off status. Setting of 0 means that the dimmer will use parameter 1. From 0; To: 99; Description: Default brightness percentageSize: 1 byte
Default: 0
Minimum: 0
Maximum: 99
Possible values
| From | To | Desription |
|---|---|---|
| 0 | 0 | the default brightness is 1% |
| 1 | 99 | Default brightness percentage (where 99% = 100% brightness) |
8 - Setting delay time when turn off
Setting delay time when turn off, unit is second. Values reads: From: 1; To: 60; Description: Amount of time in seconds after which the light turns offSize: 1 byte
Default: 0
Minimum: 0
Maximum: 60
Possible values
| From | To | Desription |
|---|---|---|
| 0 | 0 | the light turns off immediately |
| 1 | 60 | Amount of time in seconds after which the light turns off |
1. Remove the device from previous Z-Wave network if it has already been added to, otherwise pairing mode will be fail. 2. Double Press the reset button. 3. The indicator will start blinking blue and stay solid for 10s when pairing succeed, timeout 15mins.
Method 1. From your Z-Wave hub interface, choose to delete or reset the device as instructed. Method 2. Remove from the Device, see below instructions. 1). Press the reset button for 3 times. 2). The indicator will start blinking purple and stay solid for 10s when remove done, timeout 3mins.
1. Power on the dimmer controller, press and hold down the reset button for over 4 seconds, it will set the dimmer controller into inclusion mode.25 seconds timeout if there is no reply from the Z-Wave primary controller, repeat the operation. 2. The dimmer controller will be added to the Z-Wave network.
1. Press the reset button for 5s. 2. When the Indicator stay in Red for 10s, reset finished
1) Min./Max./Dimming Speed adjustment For the SMART dimmer to work optimally or suitable for your preference, you can adjust the brightness at the Min. and Max. level and also the dimming speed with the MIN./MAX./Dimming Speed adjustment. - MIN adjustment: Switch on the lights. When the lights are on, insert a screwdriver in MIN and turn to the left. When the light becomes unsteady, turn slightly back to the right so that the light remains steady. - MAX adjustment: Switch on the lights. When the lights are on, insert a screwdriver in MAX and turn to the right. When the light becomes unsteady, turn slightly back to the left so that the light remains steady. - Dimming Speed adjustment: Insert a screwdriver in Speed, clockwise to increase the dimming speed when you push the momentary switch, vice versa.
The Dimmer has a DSK string, you can key in first five digit to increment SmartStart process, or you can scan QR code. The QR code can be found on the Dimmer controller or in the box. Ex: 65286-19008-32952-20593- 44872-18102-41266-46651
1. Set primary controller/gateway into inclusion mode (If you don’t know how to do this, Please refer to your primary controller’s manual on how to turn your controller into inclusion mode). 2. Power on the dimmer controller, press and hold down the reset button for over 4 seconds, it will set the dimmer controller into inclusion mode.25 seconds timeout if there is no reply from the Z-Wave primary controller, repeat the operation. 3. The dimmer controller will be added to the Z-Wave network.
1. Set primary controller/gateway into exclusion mode (If you don’t know how to do this, Please refer to your primary controller’s manual on how to turn your controller into exclusion mode). 2. Power on the dimmer controller again, it will set the dimmer controller into exclusion mode (The dimmer controller already exists a Z-Wave network). 25 seconds timeout if there is no reply from the Z-Wave primary controller, repeat the operation. 3. The dimmer controller will be removed from the Z-Wave network.
| Type | Value(s) |
|---|
| Meter type |
|---|
| Electric Meter Consumption |