Heatit controls
Heatit Z-Push Wall Controller
Z-Push Wall Controller
Central Scene Device
HW: 1 FW: 1.01
ZGM130
7.13.7
0x019B (411)
0x0004 (4)
0x2403 (9219)
ZC12-21030196
2021-03-11 18:59:01.441377
N/A
Enhanced 232 Slave
Reporting Sleeping Slave
Yes
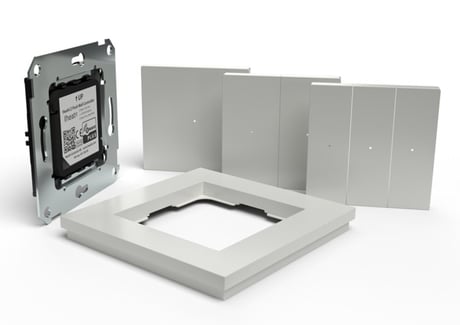
The Heatit Z-Push Wall Controller is a wireless wall mounted Z-Wave Controller. It has mounting options for 1, 2 or 3 rockers, allowing for easy and practical management of your Z-Wave products. The Heatit Z-Push Wall Controller is supplied with all three sets of rockers in the box.
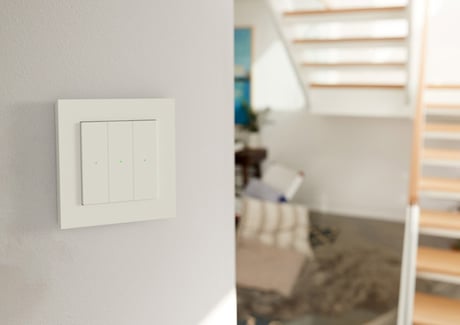
The Heatit Z-Push Wall Controller is a wireless wall mounted Z-Wave Controller. It has mounting options for 1, 2 or 3 rockers, allowing for easy and practical management of your Z-Wave products. The switch can be set up to control scenarios or work in association with other Z-Wave products. Each rocker switch has a dual color LED to indicate button actions. The Heatit Z-Push Wall Controller is supplied with all three sets of rockers in the box. The Wall Controller is coin cell battery powered. The product is intended primarily for residential applications. The Heatit Z-Wall Wall Controller has a fine, matt finish. The switch fits into System 55 frames.
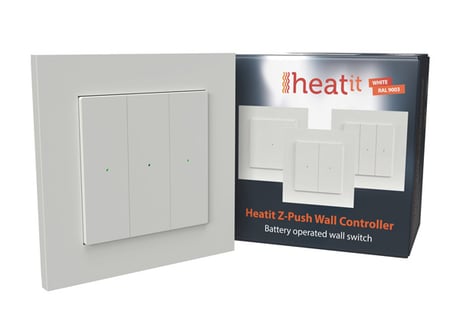
Product Image
Content in packaging
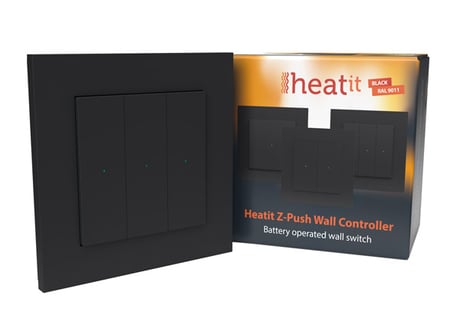
Heatit Z-Push Wall Controller_RAL 9011_Packshot
Heatit Z-Push Wall Controller_RAL 9010_Packshot
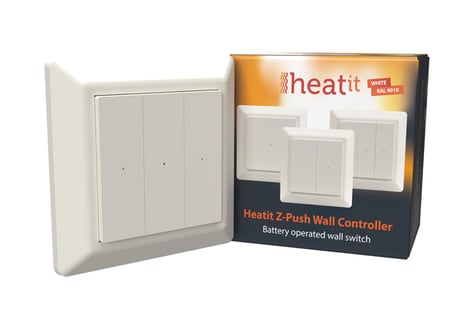
Heatit Z-Push Wall Controller_RAL 9003_Packshot


1 - Select Button reports
Configure reports sent when pressing buttons: 0 - Send Central Scene Command only 1 - Send Group Association Command only 2 - Send Central Scene and Group Association CommandsSize: 1 byte
Default: 2
Minimum: 0
Maximum: 2
Possible values
| From | To | Desription |
|---|---|---|
| 0 | 0 | Send Central Scene Command only |
| 1 | 0 | Send Group Association Command only |
| 2 | 0 | Send Central Scene and Group Association Commands |
2 - Enable LED
0 disable,1 enableSize: 1 byte
Default: 1
Minimum: 0
Maximum: 1
Possible values
| From | To | Desription |
|---|---|---|
| 0 | 0 | Disabled (does not turn off factory reset/learn mode blinking etc) |
| 1 | 0 | Enabled |
3 - Active Button rockers
If there is issue where, single button accidently presses other buttons, customer can turn of different button groups. Not needed if plasic design already prevents this. 1 = Buttongroup 3 is used (when sigle rocker is used) 2 = Buttongroup 2 & 4 is used (when double rocker is used) 3 = Buttongroup 2, 3 & 4 is used (when triple rocker is used)Size: 1 byte
Default: 3
Minimum: 1
Maximum: 3
Possible values
| From | To | Desription |
|---|---|---|
| 1 | 0 | Buttongroup 3 is used (when sigle rocker is used) |
| 2 | 0 | Buttongroup 2 & 4 is used (when double rocker is used) |
| 3 | 0 | Buttongroup 2, 3 & 4 is used (when triple rocker is used) |
The primary controller/gateway has a mode for adding devices. Please refer to your primary controller manual on how to set the primary controller in add mode. The device may only be added to the network if the primary controller is in add mode. There are two ways to add the device to a Z-Wave network. Method 1: Standard (Manual) Initiate the learning mode in the controller. Press any UP button 6 times within 3 seconds. When the add mode has started, the LED corresponding to the button you pressed will blink green. The device will indicate ”Success” by emitting a green light for 3 seconds. Method 2: SmartStart (Automatic) SmartStart-enabled products may be added to a Z-Wave network by scanning the Z-Wave QR-Code on the product if your primary controller supports SmartStart inclusion. No further action is required and the SmartStart product will be added automatically after being powered on within range of the primary controller.
The primary controller/gateway has a mode for removing devices. Please refer to your primary controller manual on how to set the primary controller in remove mode. The device may only be removed from the network if the primary controller is in remove mode. When the device is removed from the network, it will NOT revert to factory settings.
To manually wake up the device, please press any down button 6 times. The device will light up in green until wake up is no longer active. The default wake up interval in seconds: 604 800 (1 week).
To factory reset the device, remove the battery from the device. Press and hold any button on the device and repower the device. The LEDs will start blinking 3 times before lighting up in green. When the green LED is on, you can release the button. The device will issue a Device Reset Locally Notification Command to notify that the device will be reset to default. When preforming a factory reset the device will lose its Node ID from the gateway and reset its Home ID.
Paragraph 5 Choosing the correct front/assembly 5.1 Single rocker configuation When the device is in single rocker configuration, it uses associations group 3. Change Parameter 3 to 1 when using a single rocker. 5.2 Dual rocker configuration When the device is in dual rocker configuration, it uses associations group 2 for the first button and 4 for the second button. Change Parameter 3 to 2 when using dual rockers. 5.3 Triple rocker configuration When the device is in triple rocker configuration, it uses associations group 2 for the first button, 3 for the second and 4 for the third button. Change Parameter 3 to 3 when using dual rockers.
The QR-Code is needed when including a device using S2 security or SmartStart. The DSK can be found in the QR-Code and is located; 1. On the product. 2. On the Quick Guide manual. 3. On the product box.
| Type | Value(s) |
|---|