2GIG
2GIG Z-Wave Plus 700-series Programmable Thermostat
2GIG-STZ-1
Thermostat - HVAC
HW: 1 FW: 1.08:03.07
ZGM130
7.12.2
0x009B (155)
0x5354 (21332)
0x5A31 (23089)
ZC12-21030203
2021-03-19 12:33:55.073261
N/A
Enhanced 232 Slave
Always On Slave
Yes
2GIG-STZ-1 Z-Wave Thermostat is the latest programmable, Z-Wave thermostat from Nortek, enabling users to manage the thermostat, configure programming and displaying current conditions in the home or office.
2GIG-STZ-1 Z-Wave Plus Thermostat is the latest programmable, Z-Wave thermostat from Nortek, enabling end users to manage the thermostat, configure programming settings, as well as to display current conditions in the home or office. The thermostat can support up to three heat and two cool stages of heap pump and conventional HVAC systems, including humidification support. It can be powered using 24VAC or using four (4) AA batteries. Comes With S2 Security and OTA capability.
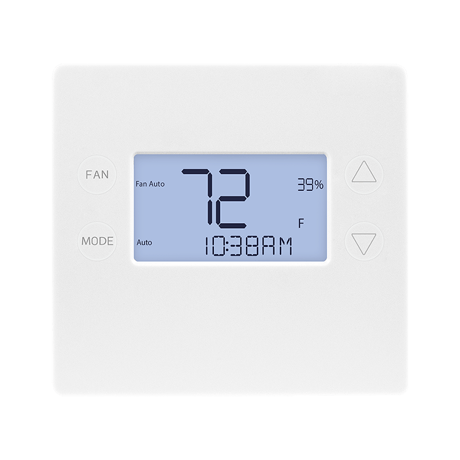
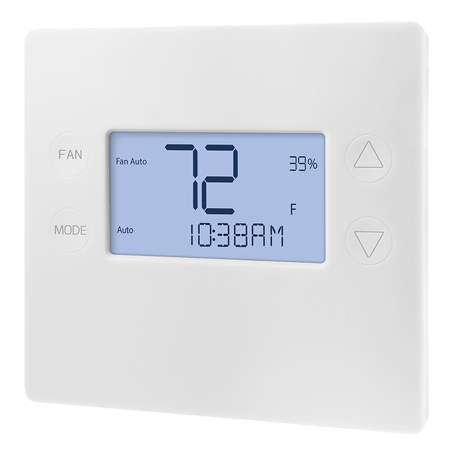
Product Image
"1. Set your primary controller to Include, add or Install mode, to add the thermostat as a node on your network (see your controller’s user manual for detailed instructions). 2. Touch any button to take the thermostat out of sleep mode. 3. Touch and hold MODE button for 5 seconds. SETUP will be displayed in the status display line. 4. Scroll to “Z-Wave” using buttons. Touch FAN (Select). 5. When prompted by your Z-Wave controller, select YES in the Z-Wave Install screen. 6. Touch FAN (Select) to add thermostat to network. 7. The display line should flash WAIT and then SUCCESS if Z-Wave connection is made. 8. If Z-Wave does not connect to controller, WAIT, then FAIL will flash in status display line. 9. If thermostat fails to connect, repeat Steps three (3) through (7) to re-try connecting. Your controller will indicate the thermostat was successfully added to its network (see your controller’s user manual for details). Also, you can check if the thermostat was successfully added to the network by checking the ZHID (Home ID) and ZNID (Node ID) located in the thermostat INFO screen."
Removing from a Z-Wave Network To remove the thermostat from the network, use the following steps. 1. Set your primary controller to exclude or remove mode to remove the thermostat as a node on your network (see your controller’s user manual for detailed instructions). 2. Touch any button to take the thermostat out of sleep mode. 3. Touch and hold the MODE button for 5 seconds. SETUP will be displayed in the status display line. 5. Scroll to “Z-Wave” using buttons. Touch FAN (Select). 6. When prompted by your Z-Wave controller, select YES in the Z-Wave exclude screen. 7. Touch FAN (Select) to remove thermostat to network. 8. The display line should flash WAIT then SUCCESS if the thermostat is removed from the network. 9. If the removal operation is not successful, WAIT will flash, then FAIL will flash in status display line. Repeat Steps three (3) through (7) to re-try.
Wake-Up Command Class not used in the project, no need to input wake-up procedure.
Factory Reset WARNING: Please use this procedure only when the Z-Wave Primary Controller is missing or otherwise inoperable. To reset the 2GIG-STZ-1's Z-Wave parameters to Factory Settings (both Z-Wave and HVAC settings): 1. Touch and hold MODE button to go to Setup menu. 2. Touch and hold MODE and the down arrow key to enter Advanced Menu. 3. Navigate to Restore Defaults to perform a factory reset.
"Note: The S2 DSK string, pin code, and QR code are printed on a label above the LCD screen under the faceplate."
| Type | Value(s) |
|---|
| Sensor type |
|---|
| Air Temperature |
| Humidity |