HOPPE eHandle ConnectSense
HOPPE eHandle ConnectSense
E0400Z-EF
Notification Sensor
HW: 1 FW: 8.20
ZGM130
7.15.4
0x0313 (787)
0x0701 (1793)
0x0002 (2)
ZC12-22050338
2022-05-02 13:56:06.379322
N/A
Enhanced 232 Slave
Reporting Sleeping Slave
Yes
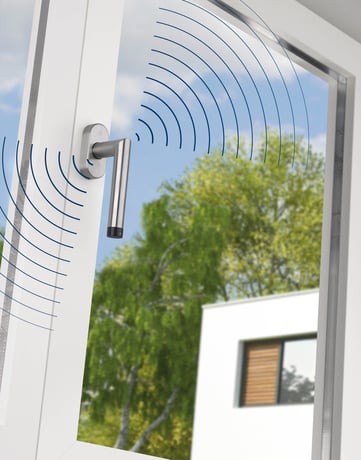
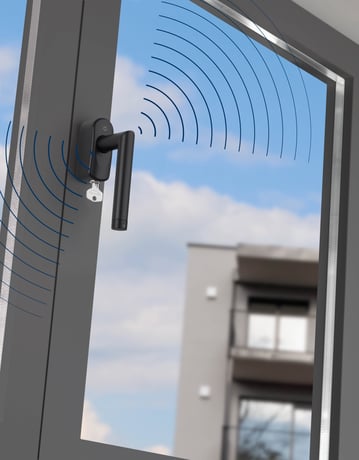
The eHandle ConnectSense communicates via the Z-Wave™ protocol. The following information is sent to the Smart Home central control unit: • Window handle positions - Closed - Opened - Tilted and additionally • Window positions - Closed - Opened • Burglary attempt (with window closed only) • Battery status
The eHandle ConnectSense for windows is a smart home component intended to transmit the position of the window and the handle (closed (0°), open (90°) or tilted (180°). When closed, the eHandle Connect Sense for windows is also able to detect common burglary attempts like drilling or prying a window open. In addition, the state of the battery is transmitted to the smart home central control unit. This product can be operated in any Z-Wave™ network with other Z-Wave certified devices from other manufacturers. All mains operated devices within the network can act as repeaters regardless of manufacturer to increase reliability and range of the network.
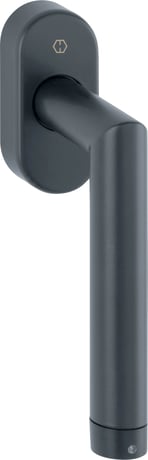
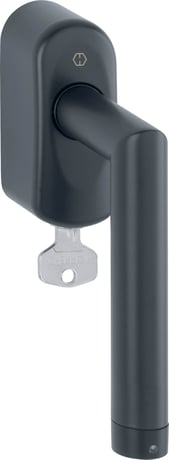
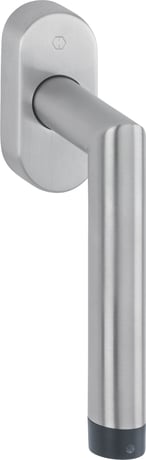
Product Image


1 - BASIC command value sent to Association Groups o
Defines the BASIC command value sent in case of ON eventSize: 1 byte
Default: 255
Minimum: 0
Maximum: 255
Possible values
| From | To | Desription |
|---|---|---|
| 0 | 0 | OFF |
| 255 | 255 | ON |
2 - BASIC command value sent to Association Groups o
Defines the BASIC command value sent in case of OFF eventSize: 1 byte
Default: 0
Minimum: 0
Maximum: 255
Possible values
| From | To | Desription |
|---|---|---|
| 0 | 0 | OFF |
| 255 | 255 | ON |
3 - Report Last State on Wakeup
Activate/Deactivate handle/window reporting on wakeupSize: 1 byte
Default: 255
Minimum: 0
Maximum: 255
Possible values
| From | To | Desription |
|---|---|---|
| 0 | 0 | OFF |
| 255 | 255 | ON |
To add or remove the eHandle ConnectSense for windows in the smart home central control unit, proceed as follows: 6 6 8173 ferTor 13 adtallendorf 8 max. 360° 7 29 English 1. Follow the instructions of your smart home central control unit and start the process of adding or removing. 2. Using the Allen key, press the hidden button in the recess on the back of the wireless unit three times in quick succession (within one second), (steps 3-4). 3. The successful start and the progress of adding (Add) or removing (Remove) e can be tracked in your smart home central control unit. 4. Your smart home central control unit may ask you to enter a five-digit PIN number. You will find this on the sticker with QR code. It is the underlined sequence of numbers. 5. A successful addition (Add) is displayed in your smart home central control unit. 6. The handle signals that it is ready for calibration by continuous rapid flashing of the green LED. 7. Follow the further instructions for installation (Chapter 11) and calibration (Chapter 6.2).
To add or remove the eHandle ConnectSense for windows in the smart home central control unit, proceed as follows: 6 6 8173 ferTor 13 adtallendorf 8 max. 360° 7 29 English 1. Follow the instructions of your smart home central control unit and start the process of adding or removing. 2. Using the Allen key, press the hidden button in the recess on the back of the wireless unit three times in quick succession (within one second), (steps 3-4). 3. The successful start and the progress of adding (Add) or removing (Remove) e can be tracked in your smart home central control unit. 4. Your smart home central control unit may ask you to enter a five-digit PIN number. You will find this on the sticker with QR code. It is the underlined sequence of numbers. 5. A successful addition (Add) is displayed in your smart home central control unit. 6. The handle signals that it is ready for calibration by continuous rapid flashing of the green LED. 7. Follow the further instructions for installation (Chapter 11) and calibration (Chapter 6.2).
To save energy and increase battery life, the eHandle ConnectSense for windows is in sleep mode as a standard. In this mode, it does not actively receive any wireless signals. Therefore, operation is only possible with a mains-powered smart home central control unit. It saves the wireless signals for the eHandle ConnectSense for windows until the next wake-up.
The eHandle ConnectSense for windows also allows to be reset without any involvement of the smart home central control unit. This procedure should only be used when the smart home central control unit is inoperable. Press the concealed button for 10 seconds using the Allen key. The successful reset to the factory setting is confirmed by the LED lighting up once.
To add or remove the eHandle ConnectSense for windows in the smart home central control unit, proceed as follows: 6 6 8173 ferTor 13 adtallendorf 8 max. 360° 7 29 English 1. Follow the instructions of your smart home central control unit and start the process of adding or removing. 2. Using the Allen key, press the hidden button in the recess on the back of the wireless unit three times in quick succession (within one second), (steps 3-4). 3. The successful start and the progress of adding (Add) or removing (Remove) e can be tracked in your smart home central control unit. 4. Your smart home central control unit may ask you to enter a five-digit PIN number. You will find this on the sticker with QR code. It is the underlined sequence of numbers. 5. A successful addition (Add) is displayed in your smart home central control unit. 6. The handle signals that it is ready for calibration by continuous rapid flashing of the green LED. 7. Follow the further instructions for installation (Chapter 11) and calibration (Chapter 6.2).
| Type | Value(s) |
|---|
| Group | Type |
|---|---|
| Access Control |
|
| Home Security | Sensor status: Intrusion |