Enbrighten
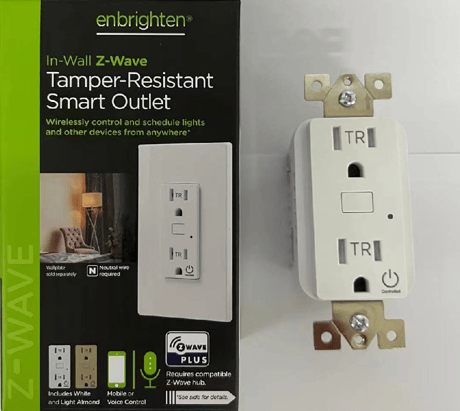
Enbrighten Z-Wave Plus In-Wall Tamper Resistant Smart Outlet,700S
58449/ZWA1003
Binary Switch DT
HW: 01 FW: 01.07
ZGM130S037HGN2 / ZGM130S037HGN1
7.18.1
0x0063 (99)
N/A
0x4952 (18770)
ZC14-22110169
2022-11-23 09:46:28
N/A
Enhanced 232 Slave
Always On Slave
Experience the latest generation of Z-Wave™ smart controls for in-wall smart outlet to accommodate any home.


3 - LED Light Mode
Set the LED Light ModeSize: 1 byte
Default: 1
Minimum: 0
Maximum: 3
Possible values
| From | To | Desription |
|---|---|---|
| 0 | 0 | 0 |
35 - LED Light Intensity
Set the LED Light IntensitySize: 1 byte
Default: 4
Minimum: 1
Maximum: 7
Possible values
| From | To | Desription |
|---|---|---|
| 0 | 0 | 0 |
36 - Guidelight Mode Intensity
Set the Guidelight Mode IntensitySize: 1 byte
Default: 4
Minimum: 1
Maximum: 7
Possible values
| From | To | Desription |
|---|---|---|
| 0 | 0 | 0 |
84 - Reset Factory Default
Reset Switch to Factory DefaultsSize: 1 byte
Default: 0
Minimum: 0
Maximum: 1
Possible values
| From | To | Desription |
|---|---|---|
| 0 | 0 | 0 |
1. Follow the instructions for your Z-Wave certified controller to add a device to the Z-Wave network. 2. Once the controller is ready to add your device, press the program button.
1.Follow the instructions for your Z-Wave certified controller to remove a device from the Z-Wave network. 2. Once the controller is ready to remove your device, press the program button.
Press the program button three times, then, press and hold the button for at least three seconds. The LED blinks five times to confirm.
Page 1 , Left : Adding your device to Zwave network
| Type | Value(s) |
|---|