ADT
Base
S501R0-01
Gateway DT
HW: 01 FW: 07.18:07.18
EFR32ZG23A
7.18.2
0x0224 (548)
N/A
0x0001 (1)
ZC14-23030209
2023-03-21 12:15:21
N/A
Bridge Controller
Central Static Controller
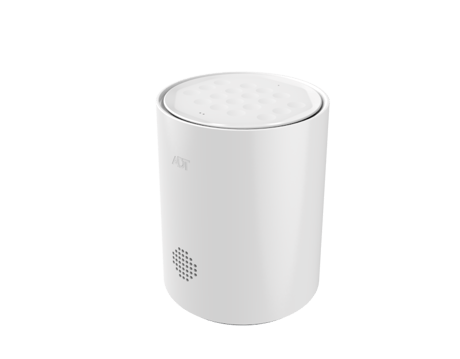
The ADT Base is the brains of the security system, providing connectivity for sensors, detectors and Z-Wave™ devices with ADT cloud interface via Wi-Fi and cellular network.
Resetting your Z-Wave network: If this controller is the primary controller for your network, resetting it will result in the nodes in your network being orphaned and it will be necessary after the reset to exclude and re-include all of the nodes in the network. If this controller is being used as a secondary controller in the network, use this procedure to reset this controller only in the event that the network primary controller is missing or otherwise inoperable. In order to factory reset your Z-Wave network, go to Settings > Devices > Choose your ADT Base > Open Advanced Settings and then select Z-Wave Reset Controller. After a few seconds, the ADT Base will beep to indicate that your Z-Wave network has been reset. Any devices which were part of your Z-Wave network will need to be reset before they can be re-added. Use the Z-Wave General Exclusion menu under Settings > Devices > Choose your ADT Base > Open Advanced Settings to do this.
Page 22 of the product manual: "The DSK (Device Specific Key) of your base can be accessed by going to Settings > Devices > Going to your ADT Base > Product Information. The full DSK will be displayed."
Adding a device: To add a Z-Wave device, go to Settings > Devices > Click on the add button and then select Zwave device. You may then select if you would like to add a device using General Inclusion or Smart Start. Z-Wave SmartStart enabled products can be added into a Z-Wave network by scanning the Z-Wave QR Code present on the product with a controller providing SmartStart inclusion. No further action is required and the SmartStart product will be added automatically within 10 minutes of being switched on in the network vicinity. To access the SmartStart Provisioning list, continue by selecting “Smart Start.” From there you can add a device by selecting “+” and then either selecting Manually or Scan QR Code and follow the prompts. When manually entering the DSK, you may also select a bootstrapping mode. For devices that support Z-Wave Long Range, you can use the long-range option to ensure the device is included using Z-Wave Long Range. Once a SmartStart device has been successfully added its DSK (Device Specific Key) and status will show up on the SmartStart Provisioning screen. To remove a SmartStart provisioned device from the screen, swipe it left and you will be asked to Confirm or Cancel the request for SmartStart.
| Type | Value(s) |
|---|